You will need to fix a few details to fix to have created your own interpretation of the "waves" piece. Perform these operations to finish your piece and practice with the main operations involved in HighC;
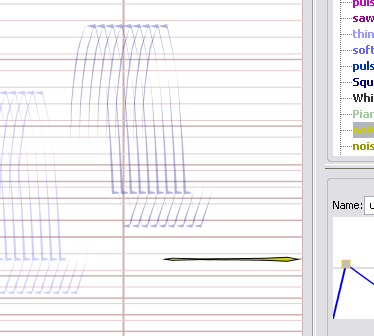
First, choose the "noise:noiseBand20Hz" waveform in the waveform editor, go to the "Paint" tool (pressing T on the keyboard), and draw a sound at the C3 level that starts at 31 seconds (labeled 4-2) and ends at the last second of the piece (keep the shift key down to ensure the sound really keeps a constant pitch). This creates a final loud sound to close the piece:
By default, all sounds are at the same level (5, mf). To have a more dramatic finale, we will want to make this last sound louder: Choose Edit > Set Level... A dialog appears, letting you choose a number between 1 and 9. 1 corresponds to very soft sounds, 9 to very loud sounds, relative to one another. Choose "7" (ff) and press OK. You'll notice that on the score, the softer sounds will become more transparent, while the louder are more opaque. HighC automatically adjust the transparency of sounds to make their relative loudness clear.
Note: the "Level" parameter in the toolbar is used to set the default loudness value of newly created sounds. When you're about to create a voice, set this value to define the relative loudness of the full sequence of sounds that compose this voice. Also, in the beta version the visual feedback of setting a level is not always immediate. This is a temporary bug.
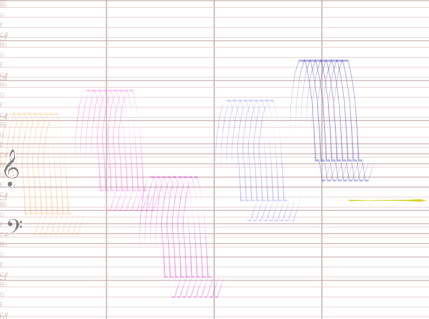
Finally, select all the sounds that constitute the last "Wave" of the piece. To do this, choose the "square" waveform, and choose "Edit > Select from Waveform". Now, choose the "Smooth" envelope in the envelope editor, and choose "Edit > Set Envelope":
You have finished your first piece. Deselect all sounds to hear it, make adjustments to your convenience, and choose File > Export to record your piece as a sound file (aiff), that you can export to various other audio software.